While do-it-yourself projects can be fun and fulfilling, there is always a potential for personal injury or property damage. We strongly suggest that any project beyond your abilities be left to licensed professionals such as electricians, plumbers, and carpenters. Any action you take upon the information on this website is strictly at your own risk, and we assume no responsibility or liability for the contents of this article.
How to Use a Charcoal Grill
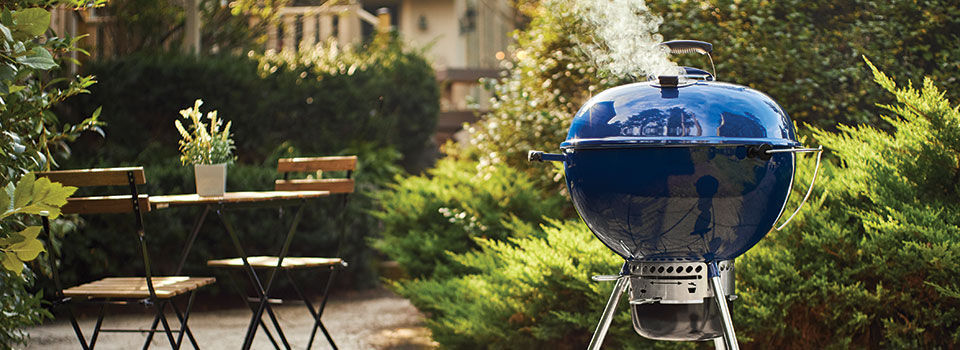
Learning the best ways to start up a charcoal grill is just the first part of becoming a backyard grill master. While a propane grill operates steadily after starting unless the fuel runs out, charcoal grills need a little more attention and tending to. The coals reach a high-temperature peak shortly after starting, then settle down into a more workable temperature range for cooking meats and more without burning. Knowing how to bank the coals, move ashes out, and stoke the coals as needed will get you grilling at just the right temperatures without losing heat at the end.
Choose the Right Amount of Charcoal
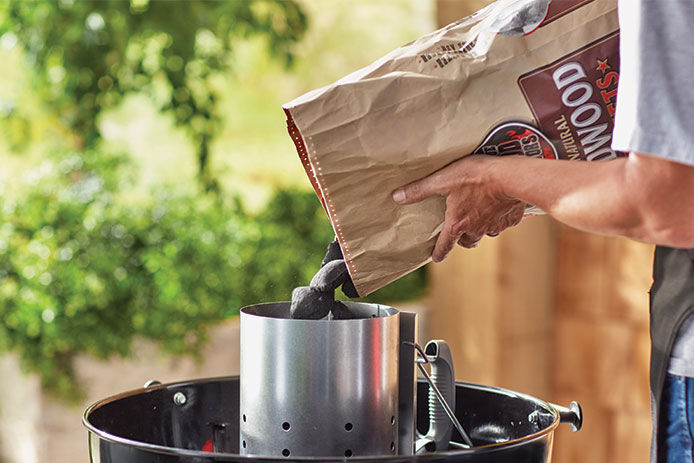
You don’t need to dump too much charcoal into a smaller grill, especially already burning coals. You’ll simply create too hot of a cooking surface and burn anything you try to grill. Depending on the size and depth of the grill, you only need a single layer of hot coals to a double layer across the banked areas. If you’re dumping enough coals to fill the grill entirely three layers deep or more, it’s too much for the grill. Either stack and arrange the charcoal before lighting, or if using a chimney, remove the grill grate and hold the chimney with a heat-proof glove as you gently dump the hot coals out of it.
Watch the Colors Change
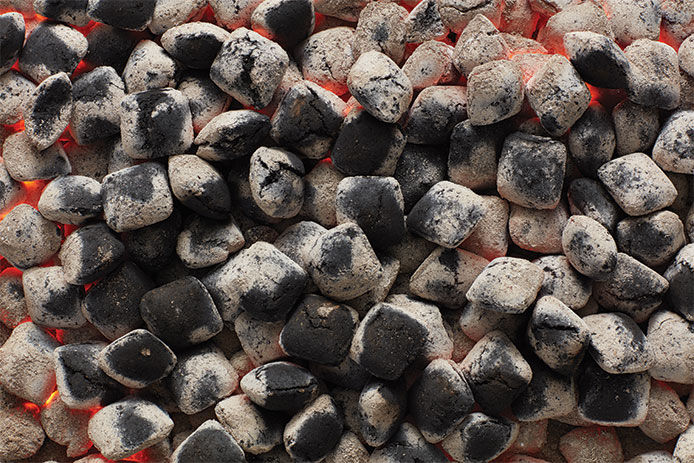
The color of the surface of each piece of charcoal tells you how hot it is. When the pieces of hot coal still have visible dark gray or black patches, they’re not fully burning yet and won’t produce steady heat. Once the charcoal becomes solid white with hints of red where ash falls off, it’s ready to cook on. Dying coals will become a light gray color as they become mostly ash. When you notice hot red tones fading from the fire or the white colors turning to light gray, refresh it with a little new charcoal. This will help you maintain steady heat without overheating the coals.
Clean and Season the Grates
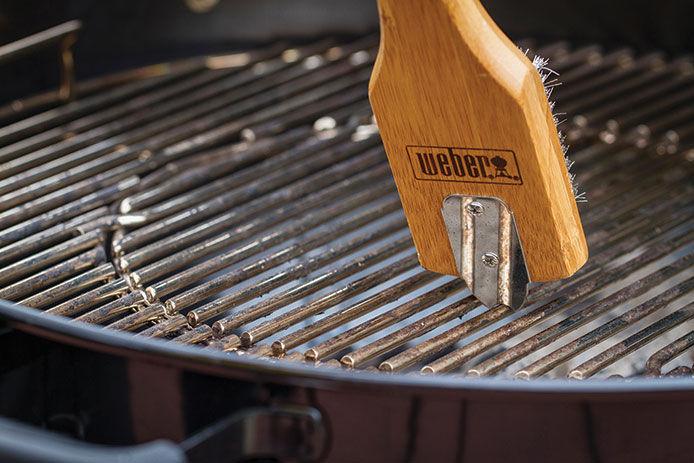
After adding the burning charcoals or lighting them in the grill, it’s time to sit back and wait until the grates heat up. When you notice sizzling and smoking from the grates, they’re getting hot enough to clean. Use a non-wire brush or grill cleaning stone to remove sticky and burnt debris without leaving bits of metal wire all over the grates. Once the grates are clean and hot, brush a neutral high-heat oil like canola over them to season them so food won’t stick. Wait to add the food until the grates turn dark, indicating the oil has hardened to form a non-stick coating.
Bank the Coals for Heat Zones
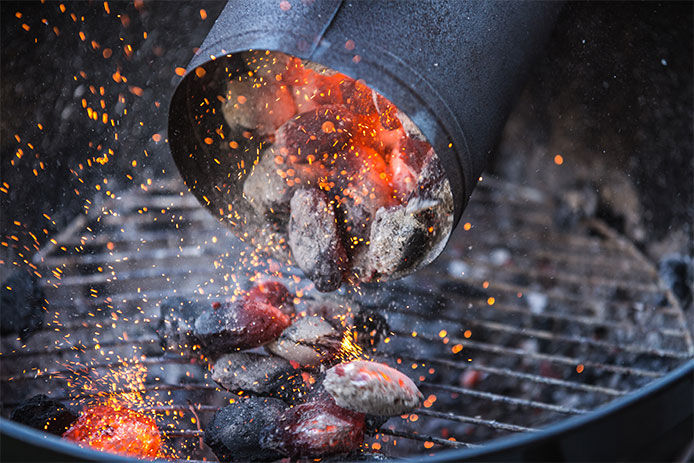
While it’s best to evenly spread the charcoal out when you first add it to the grill, it needs a little shaping and spacing before you start cooking. Lift the grate again and use a grill poker to arrange the hot coals. If you have a smaller round charcoal grill, move the coats to a ring around the outer edge and leave the middle free from hot coals. In rectangular grills, try banking the coals in a pile on the left or right and creating a cooler zone on the other side. This provides a gradient of heat ranging from direct to indirect, allowing for easy arrangement of all sorts of foods based on how long they prefer to cook. Longer cooking, larger pieces of meat should go towards the indirect side, and quickly cooked options like mushrooms or hot dogs should go above direct heat.
Lower the Lid
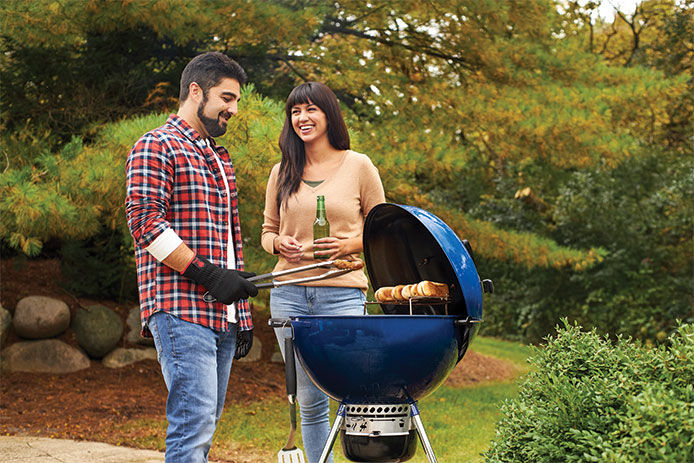
Leave the food alone over the coals and aim to only flip once in the middle of cooking. Charcoal, in particular, can dry out food if you poke and flip it too often, but allowing the coals to cool significantly will let you grill without feeling rushed or risking burnt foods. Lower the lid once you arrange everything to reflect heat over the top of the food, helping cook it before you flip it.
Stoke and Refill Dying Coals
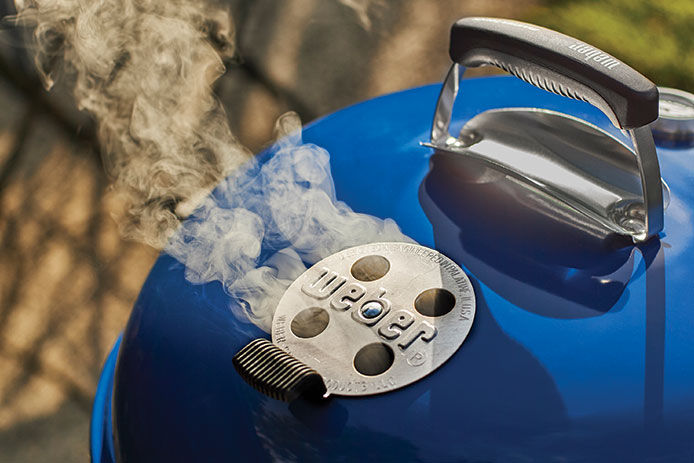
Don’t let a grate full of food keep you from boosting the heat or adding more coals. Locate the vents that increase airflow around the coals before starting the grill. You’ll need to keep these closed when the heat is already high, then open them as the coals begin to cool to stoke them up again. At some point, you’ll need to add briquettes. If you add them before the current bank of coals cool, they’ll catch easily without dropping heat levels. Toss on a few at a time as the coals settle and turn to ash, making it easier to lift the loaded grate instead of trying to tilt it up enough to dump a lot in at once.
Charcoal grilling provides a smoky taste that can’t be beaten with propane grilling. You don’t need to mess around with the charcoal too much once it’s lit, but you do need to bank it a bit and remove ash from the bottom as necessary. Don’t be afraid to use the vents to control the heat, either opening them to stoke the coals or closing them to reduce temperatures.